
Using the SSH-FS plugin for VS Code
The easiest way to access the CSE servers using VS Code is to use the ‘SSH FS’ plugin.
The ‘Remote-SSH’ plugin can fill up your account and slow down the server, so use this one instead.
Installing the plugin
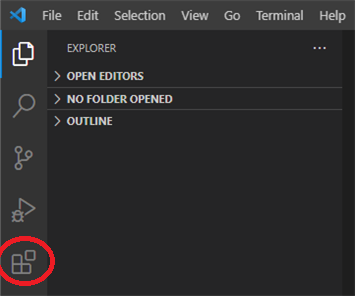
Go to the Extensions button:
Type ‘ssh fs’ into the search box:

And hit ‘Install’ on the match that comes up.
Creating a new configuration
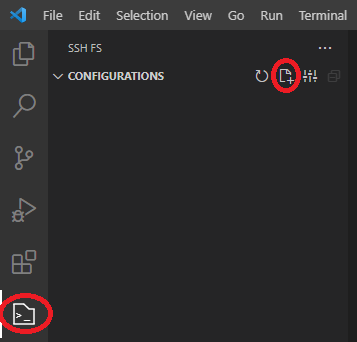
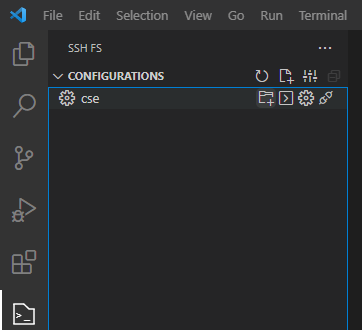
You will now have an SSH-FS tab on the left-hand toolbar.
Click it to see a list of SSH configurations on your machine:
The list will be empty, so click the create button to make a new one:
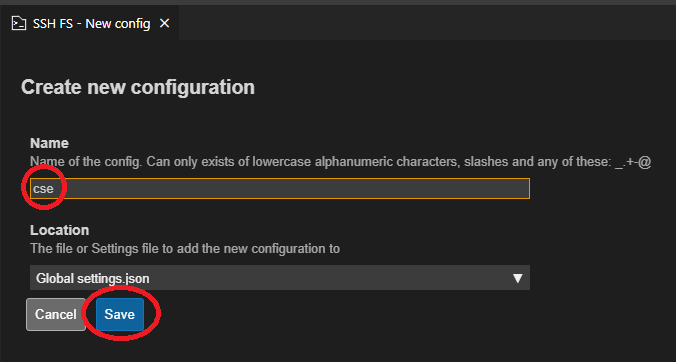
Enter a name for the new config – I’ve used ‘cse’ here, but you can call it whatever you like.
Then hit ‘save’ to move to the next step.
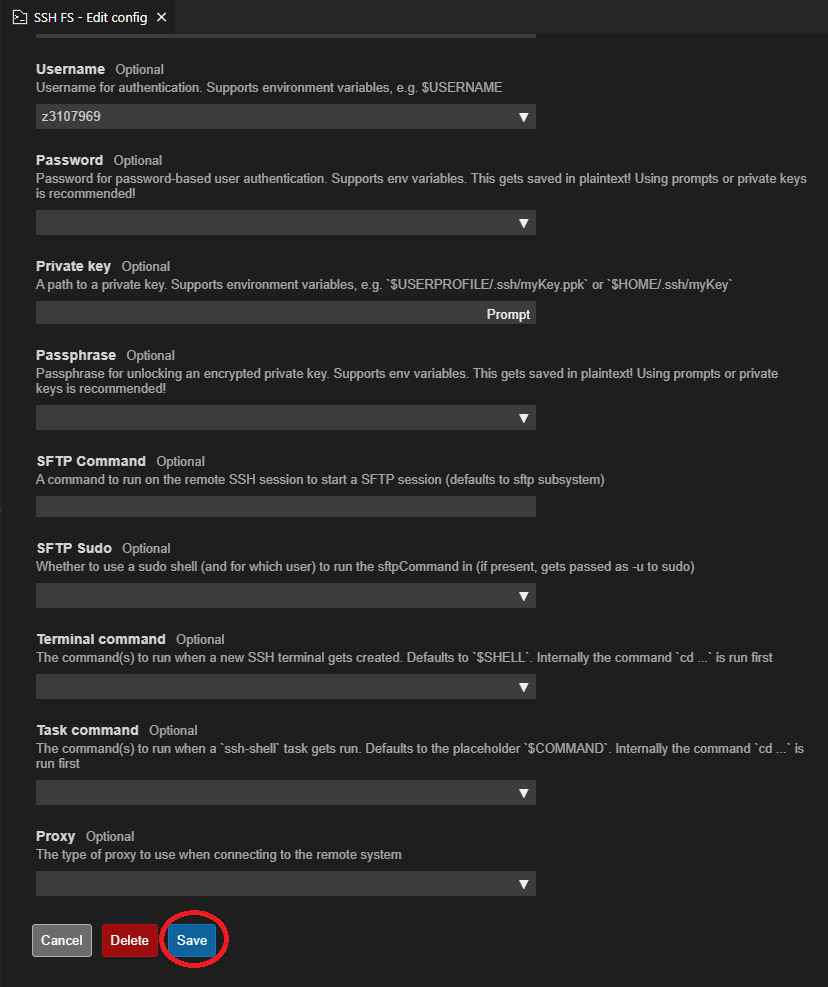
Now you need to enter the details for your username and login server.
Enter your zID in the ‘Username’ box, and enter ~ for the Root.
For the Host, enter loginX.cse.unsw.edu.au, whereX is the last digit of your ziD.
For example, if your zID is z1234567, use login7.cse.unsw.edu.au
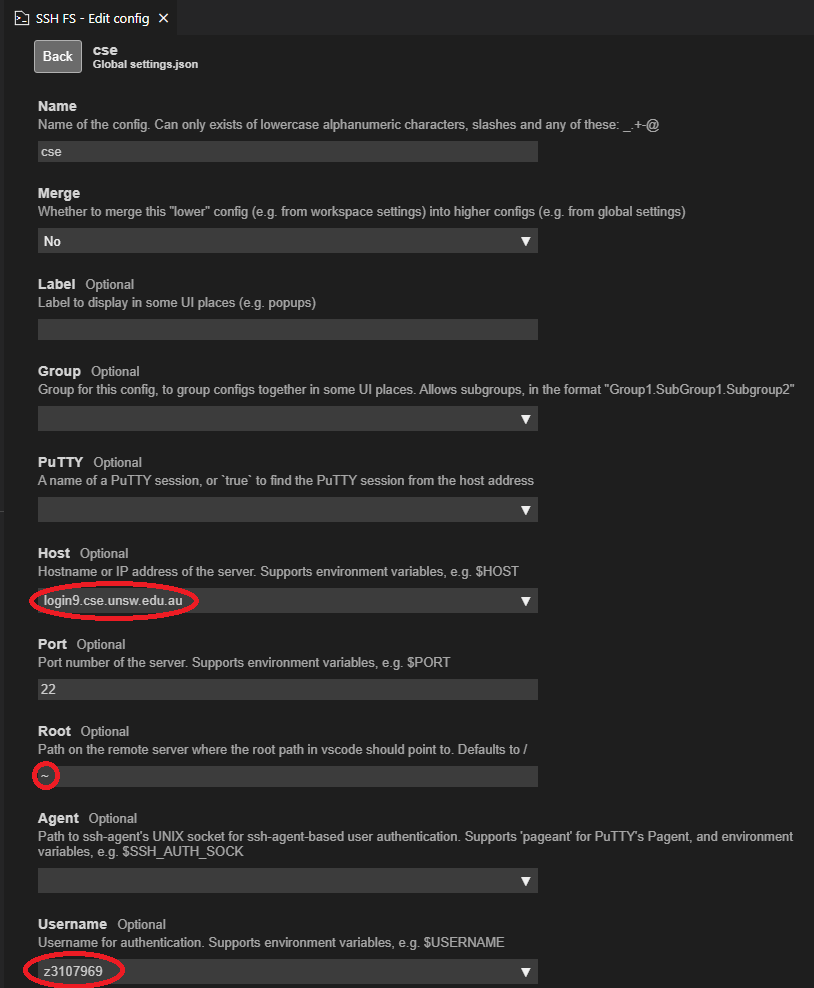
Scroll down to the bottom of the list, and click ‘Save’ to finish:
Connecting to the server
Your new configuration will now show up in the list:
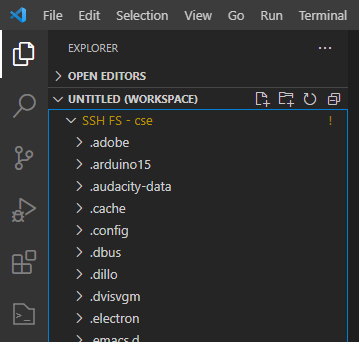
Click the ‘Add as workspace folder’ button:

You will be prompted to enter your password – use your zPass for this:

Your CSE home directory will now show up in your workspace:
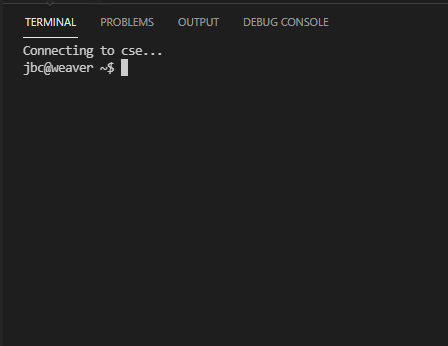
Go back to the SSH-FS tab, and click the terminal button:
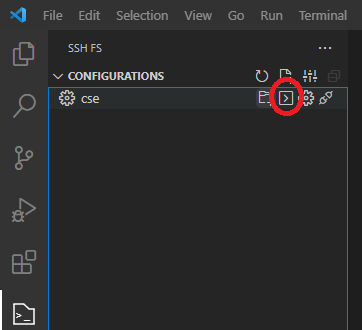
And a terminal will open on the login server, in your home directory:
Changing the start directory
If you want your workspace to start in a subfolder – maybe you have a Work directory you keep all your work in – then you can change the Root path in your SSH configuration to match.
Go back to the configuration list, and hit the Edit Configuration button: .. image:: sshfs_images/image13.png
- width
400
- alt
New configuration
You can then edit the Root path to any directory you want – then scroll down and hit Save.

Note
You can also create a second connection if you want – for instance, to have a separate workspace in /tmp, to see the temporary files your code creates.
Just create a new configuration – maybe called cse-tmp – and put /tmp in the Root box.
Now you can open up workspaces or terminals for that connection, and they’ll start in the right folder.