
Connecting with Visual Studio Code Remote
Warning
This is no longer a recommended method of connecting to VSCode. You should use The VSCode SSHFS method instead
Warning
If you have already set up VS Code, please make sure you read VS Code + CSE Important Options.
With Visual Studio Code SSH, you can access give, autotest, dcc, and more from your own computer. It only takes a few minutes to set up, and it’s easy to use.
Visual Studio Code (VS Code) SSH connects you directly to CSE in a fast and low bandwidth way. It’s particularly useful for unstable or slow connections.
Note
VS Code is not recommended for COMP1511 students, as it is not used as a standard by COMP1511 tutors; and gedit gives you a less confusing interface editor. You can choose to use it, however, and many students switch to it later in their careers.
There are only four steps to set up VS Code SSH on Windows, Mac, or Linux.
Step 1: Install VS Code
Download Visual Studio Code (VS Code) for free at code.visualstudio.com. Download the version for your operating system.
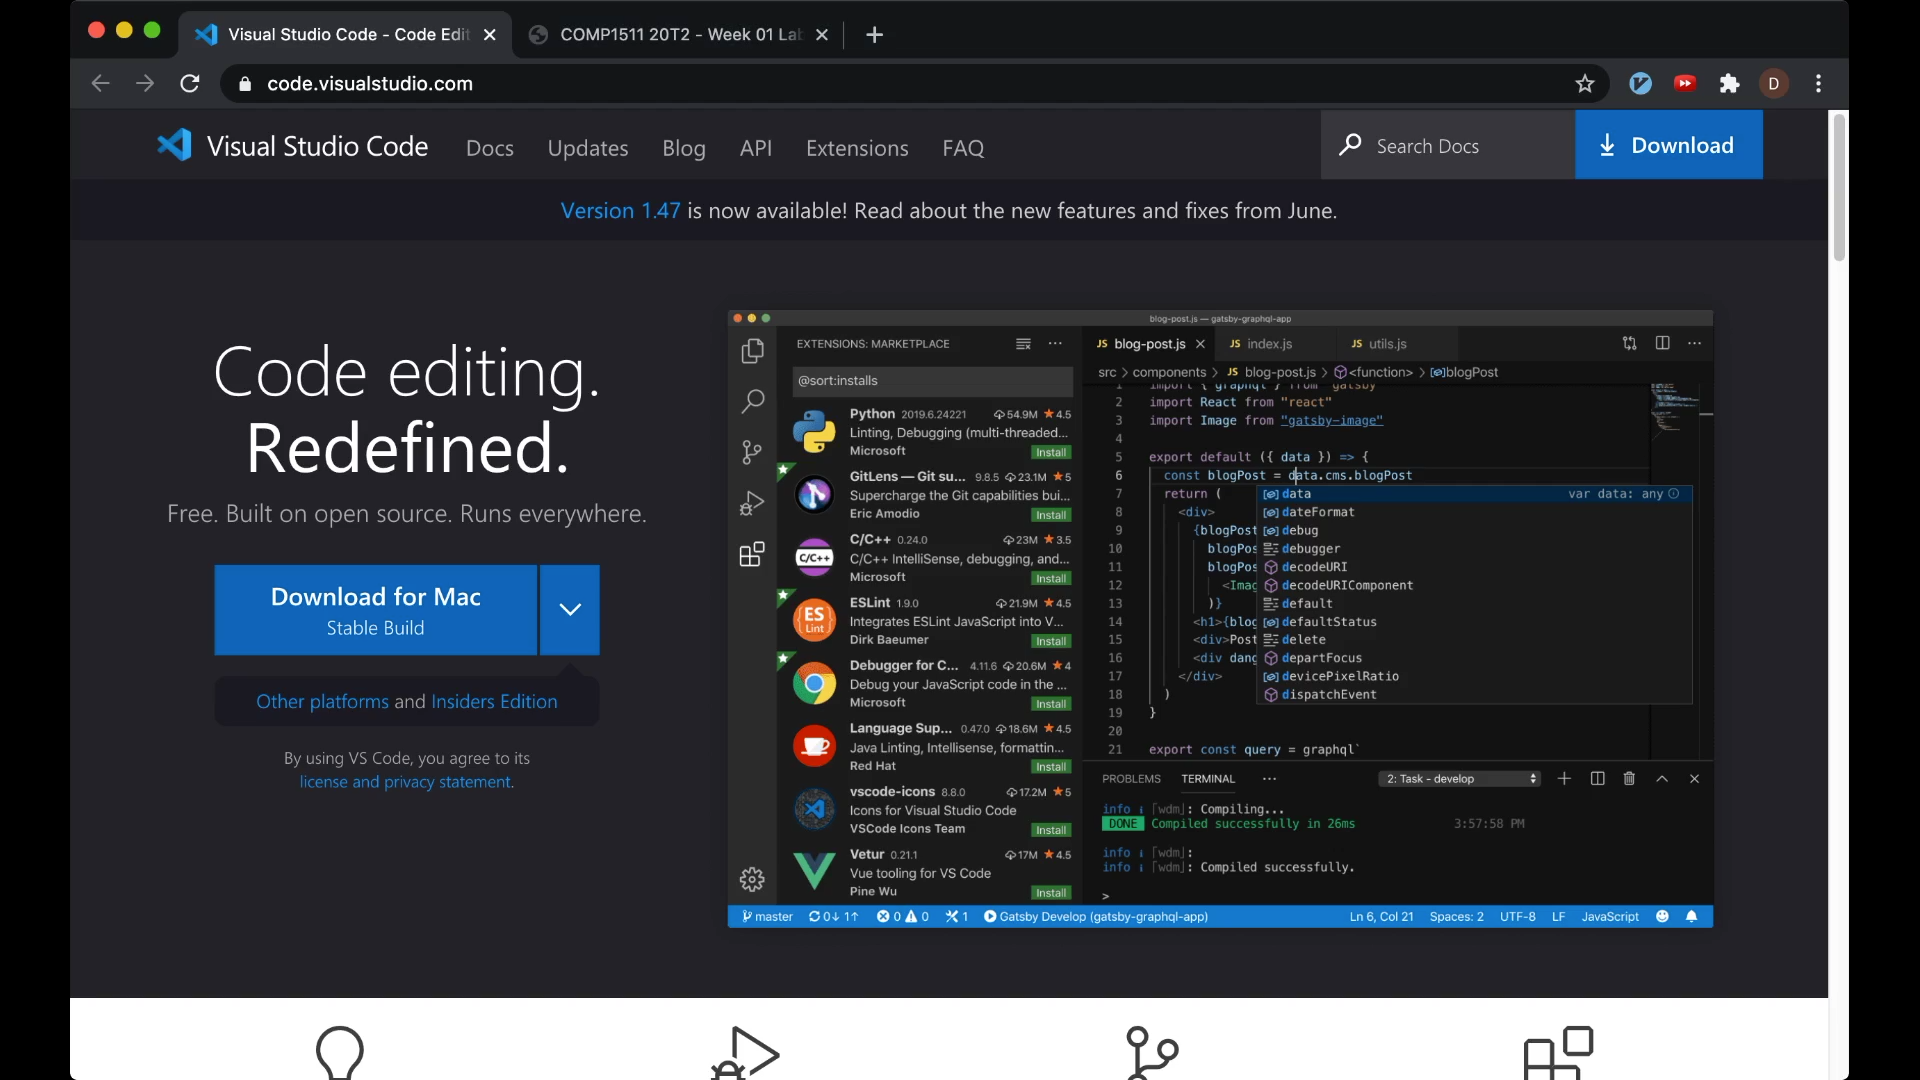
VS Code is a free code editor made by Microsoft.
Step 2: Install the “Remote Development” extension.
Extensions add extra functionality to VS Code.
Let’s install the “Remote Development” extension.
Click on the Extensions icon on the left hand side menu. The icon looks like four squares
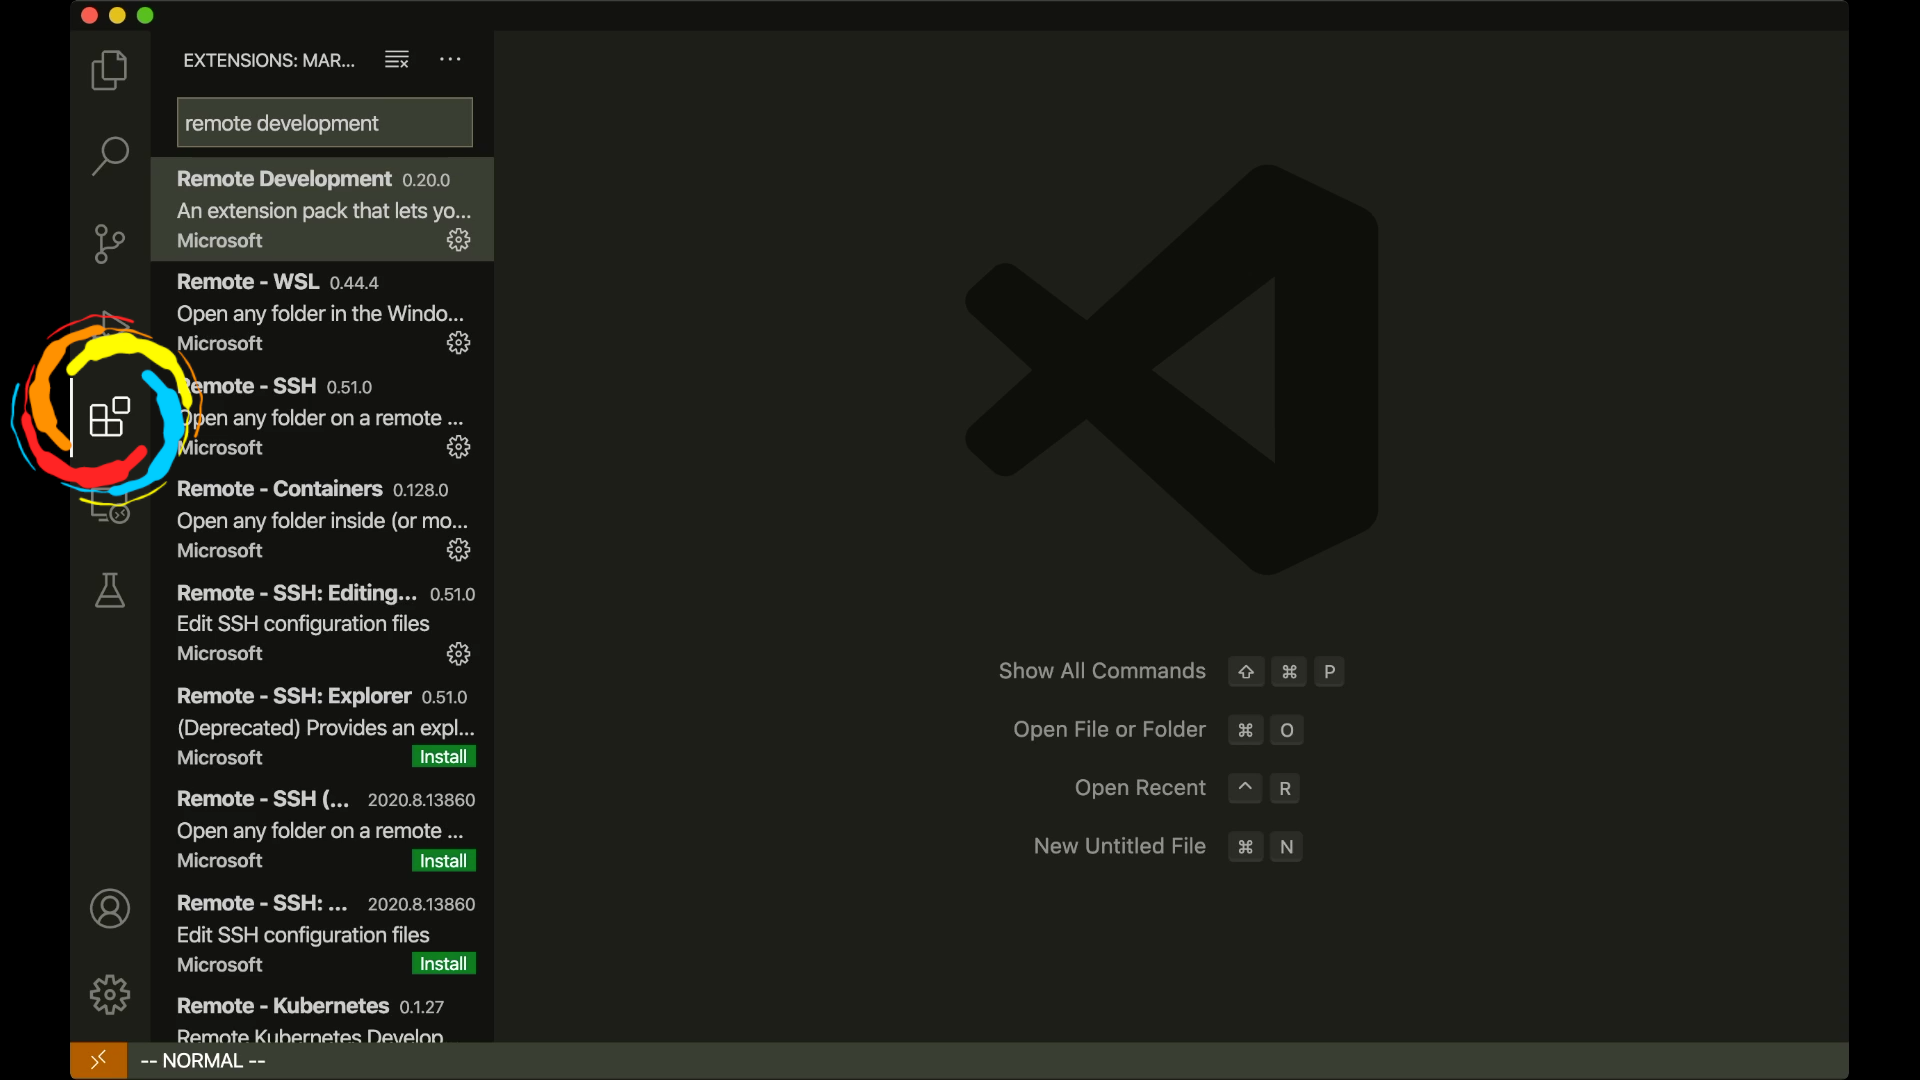
Type “Remote Development” into the search box

Click on the “Remote Development” result
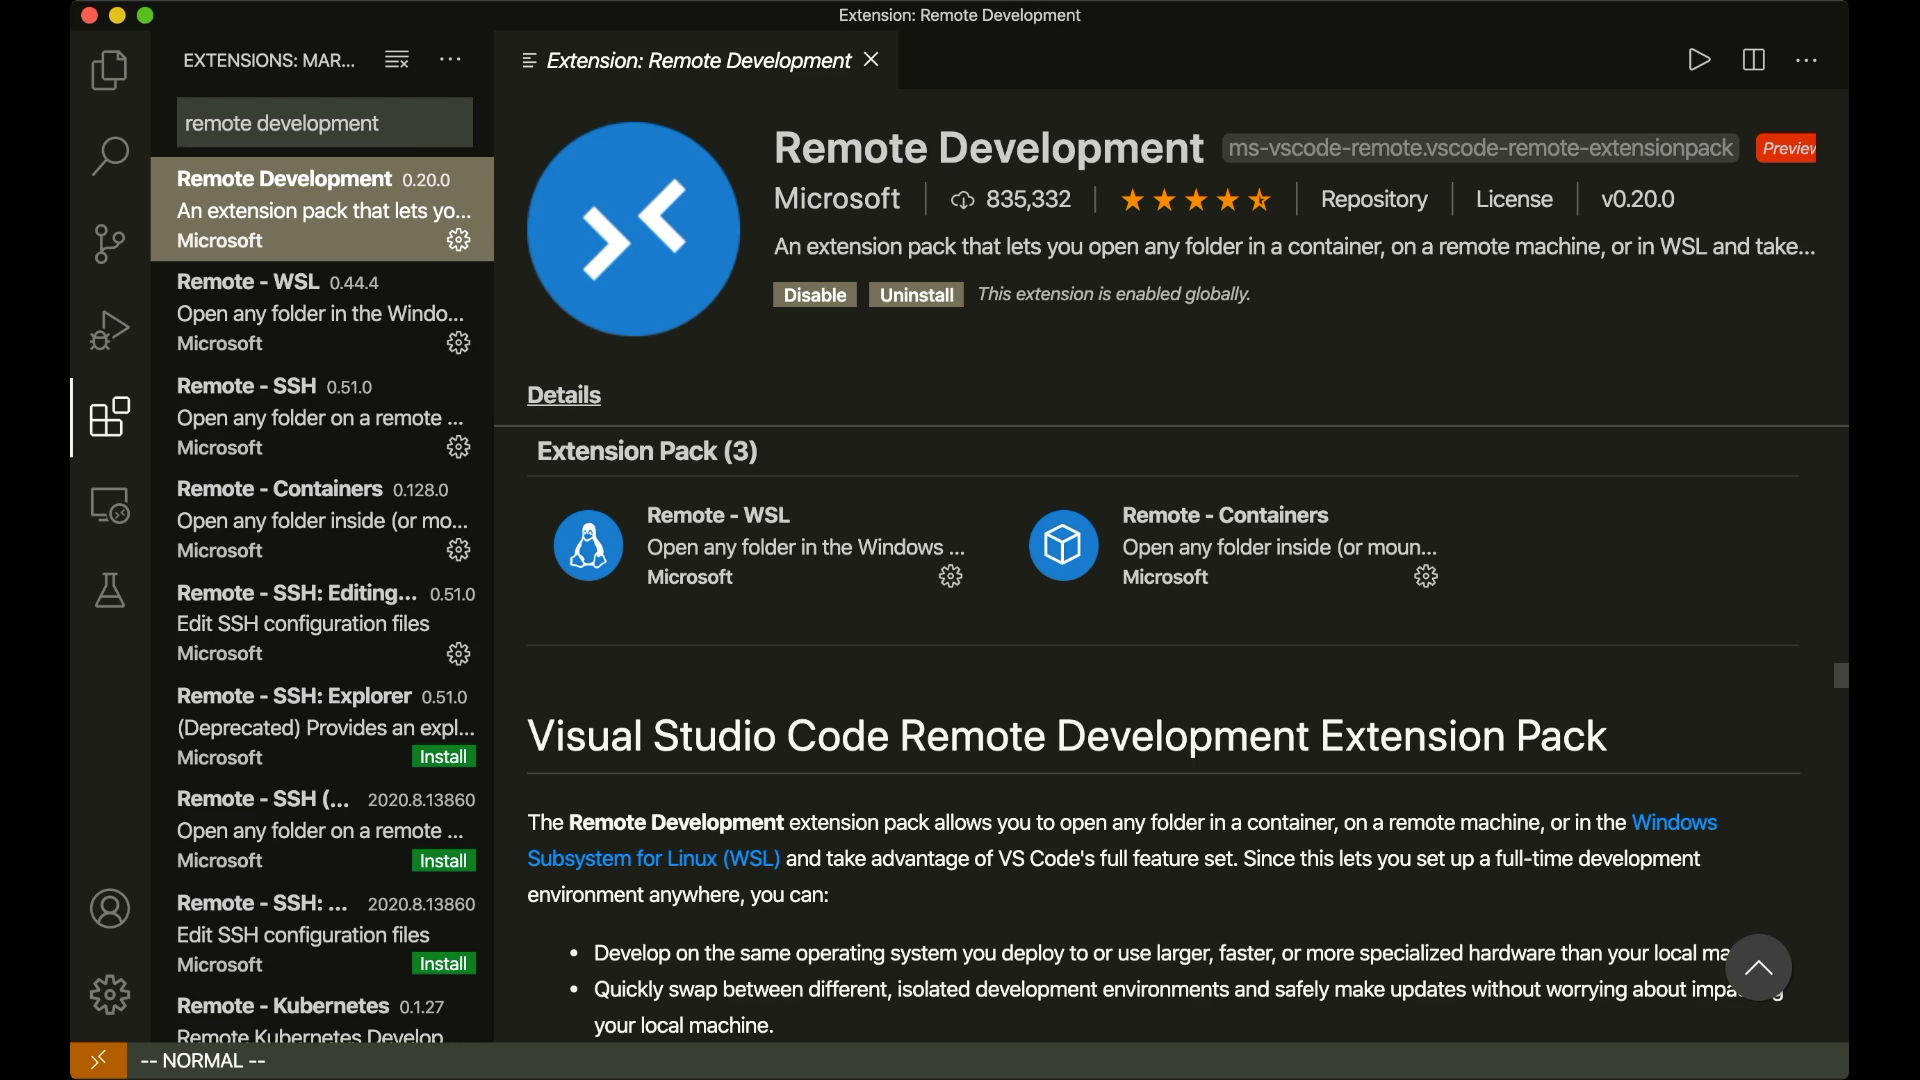
Click on the “Install” button below the title of the extension.
Step 3: Increase Security
Warning
If you do not follow these steps, your CSE account could be accessible by anyone. In the future, VS Code accounts without this enabled will not be allowed to connect to CSE’s servers.
Go to your VS Code settings by clicking the cog in the bottom left corner, and clicking “Settings” (or use the shortcut
Ctrl + ,(orCommand + ,on Mac).
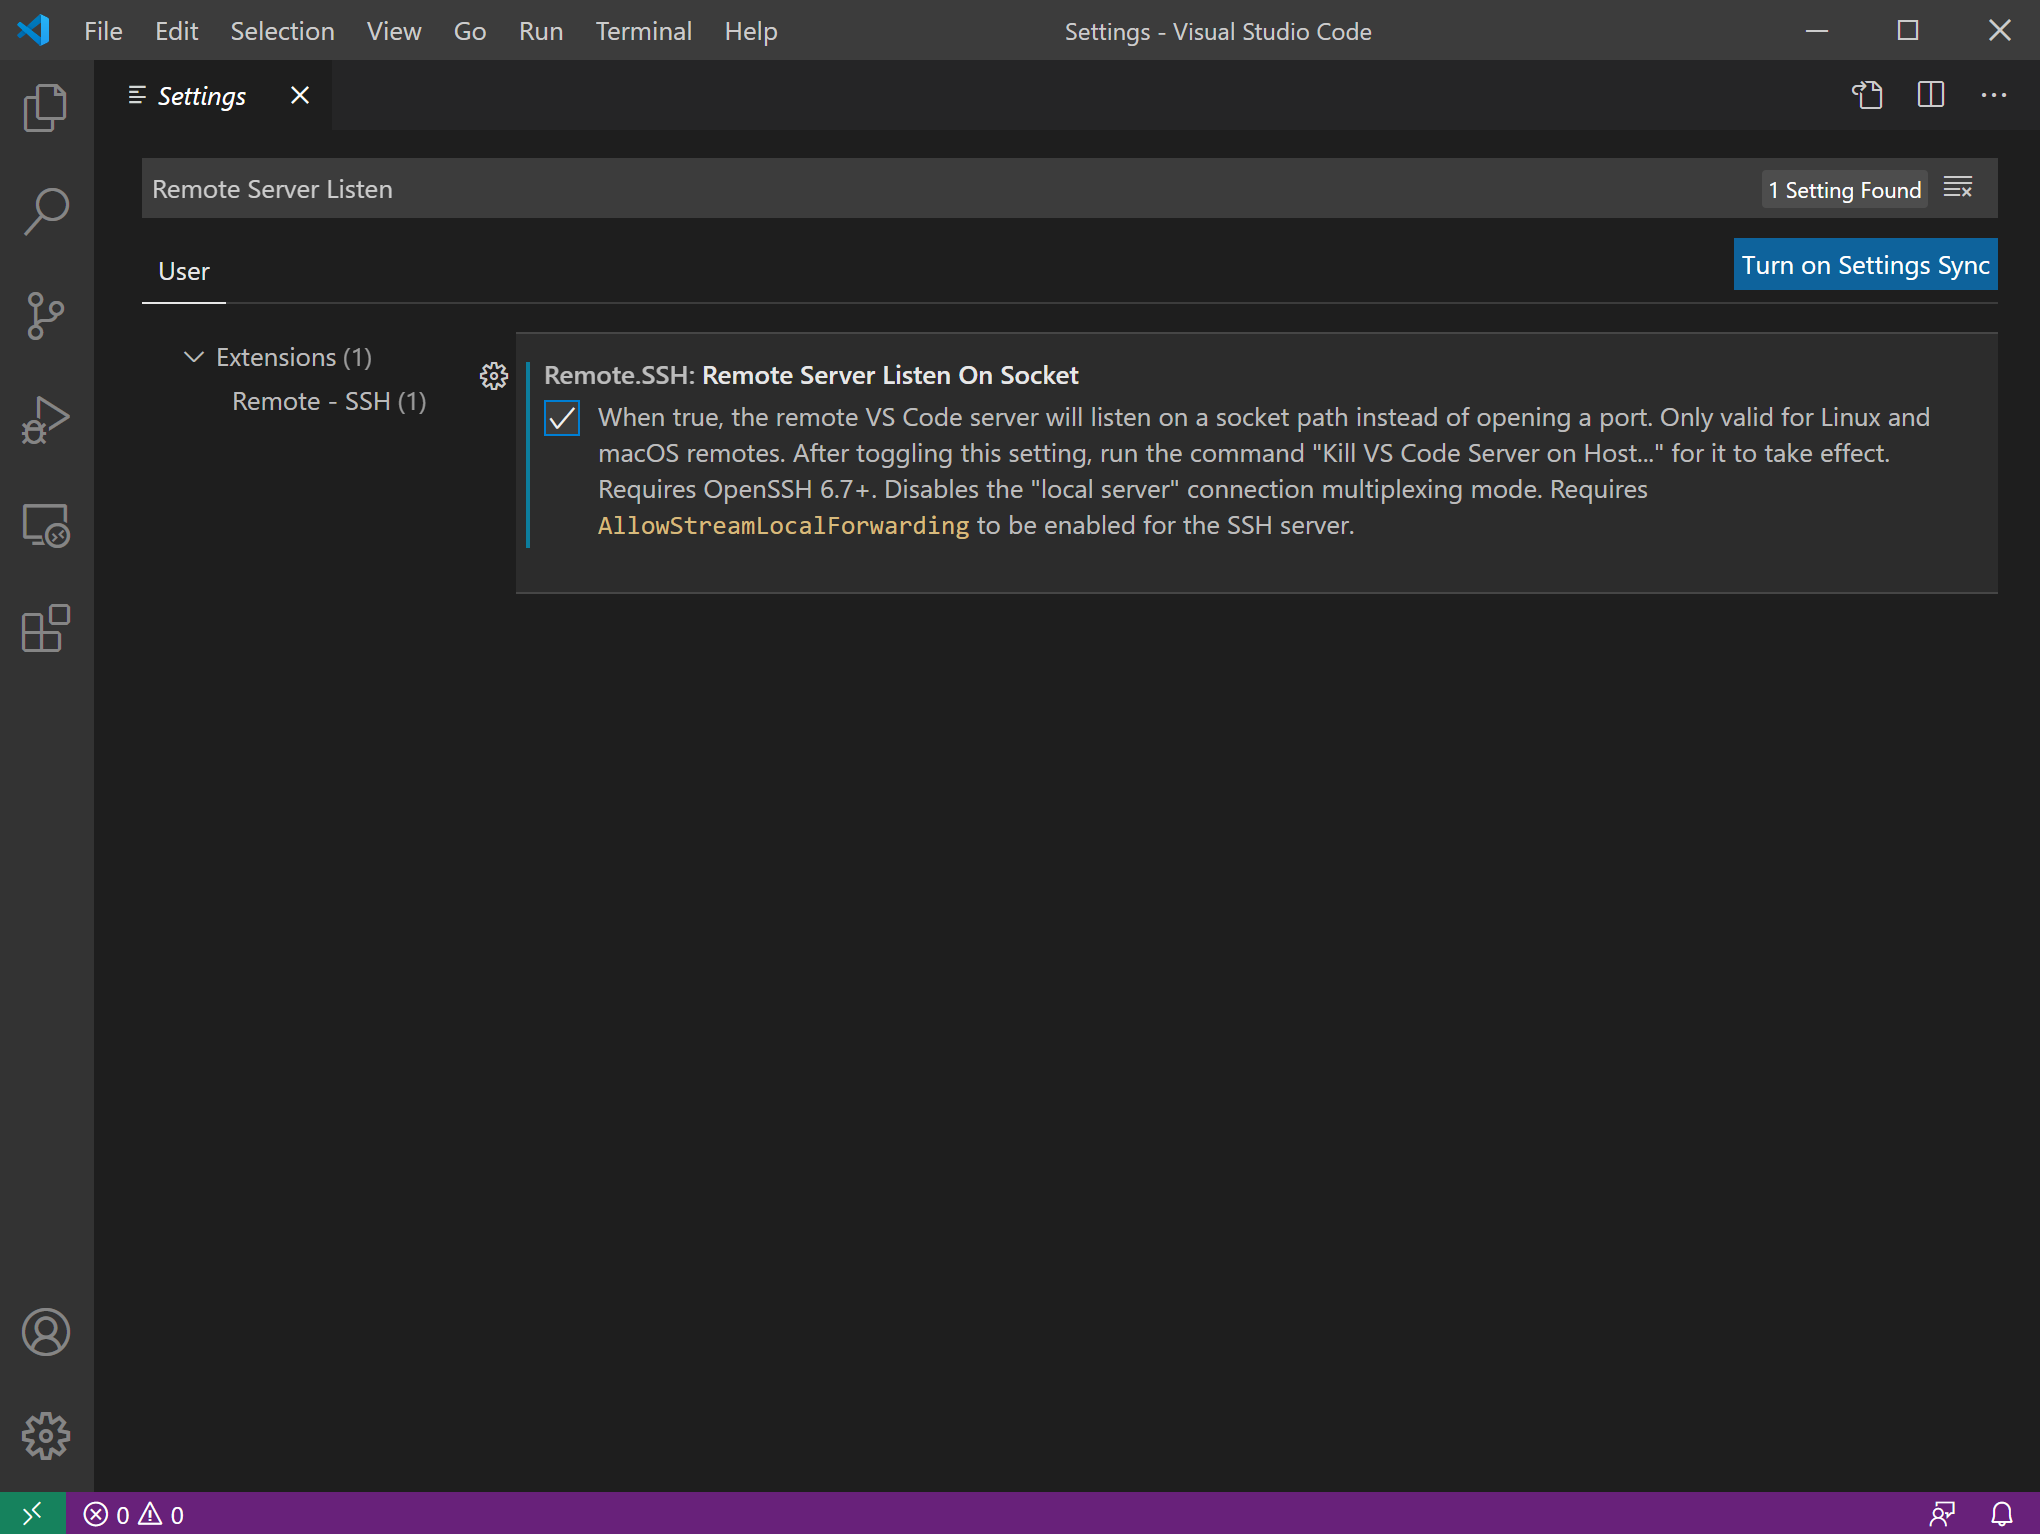
Search for “Remote Server Listen on Socket”. Make sure that the setting is checked!
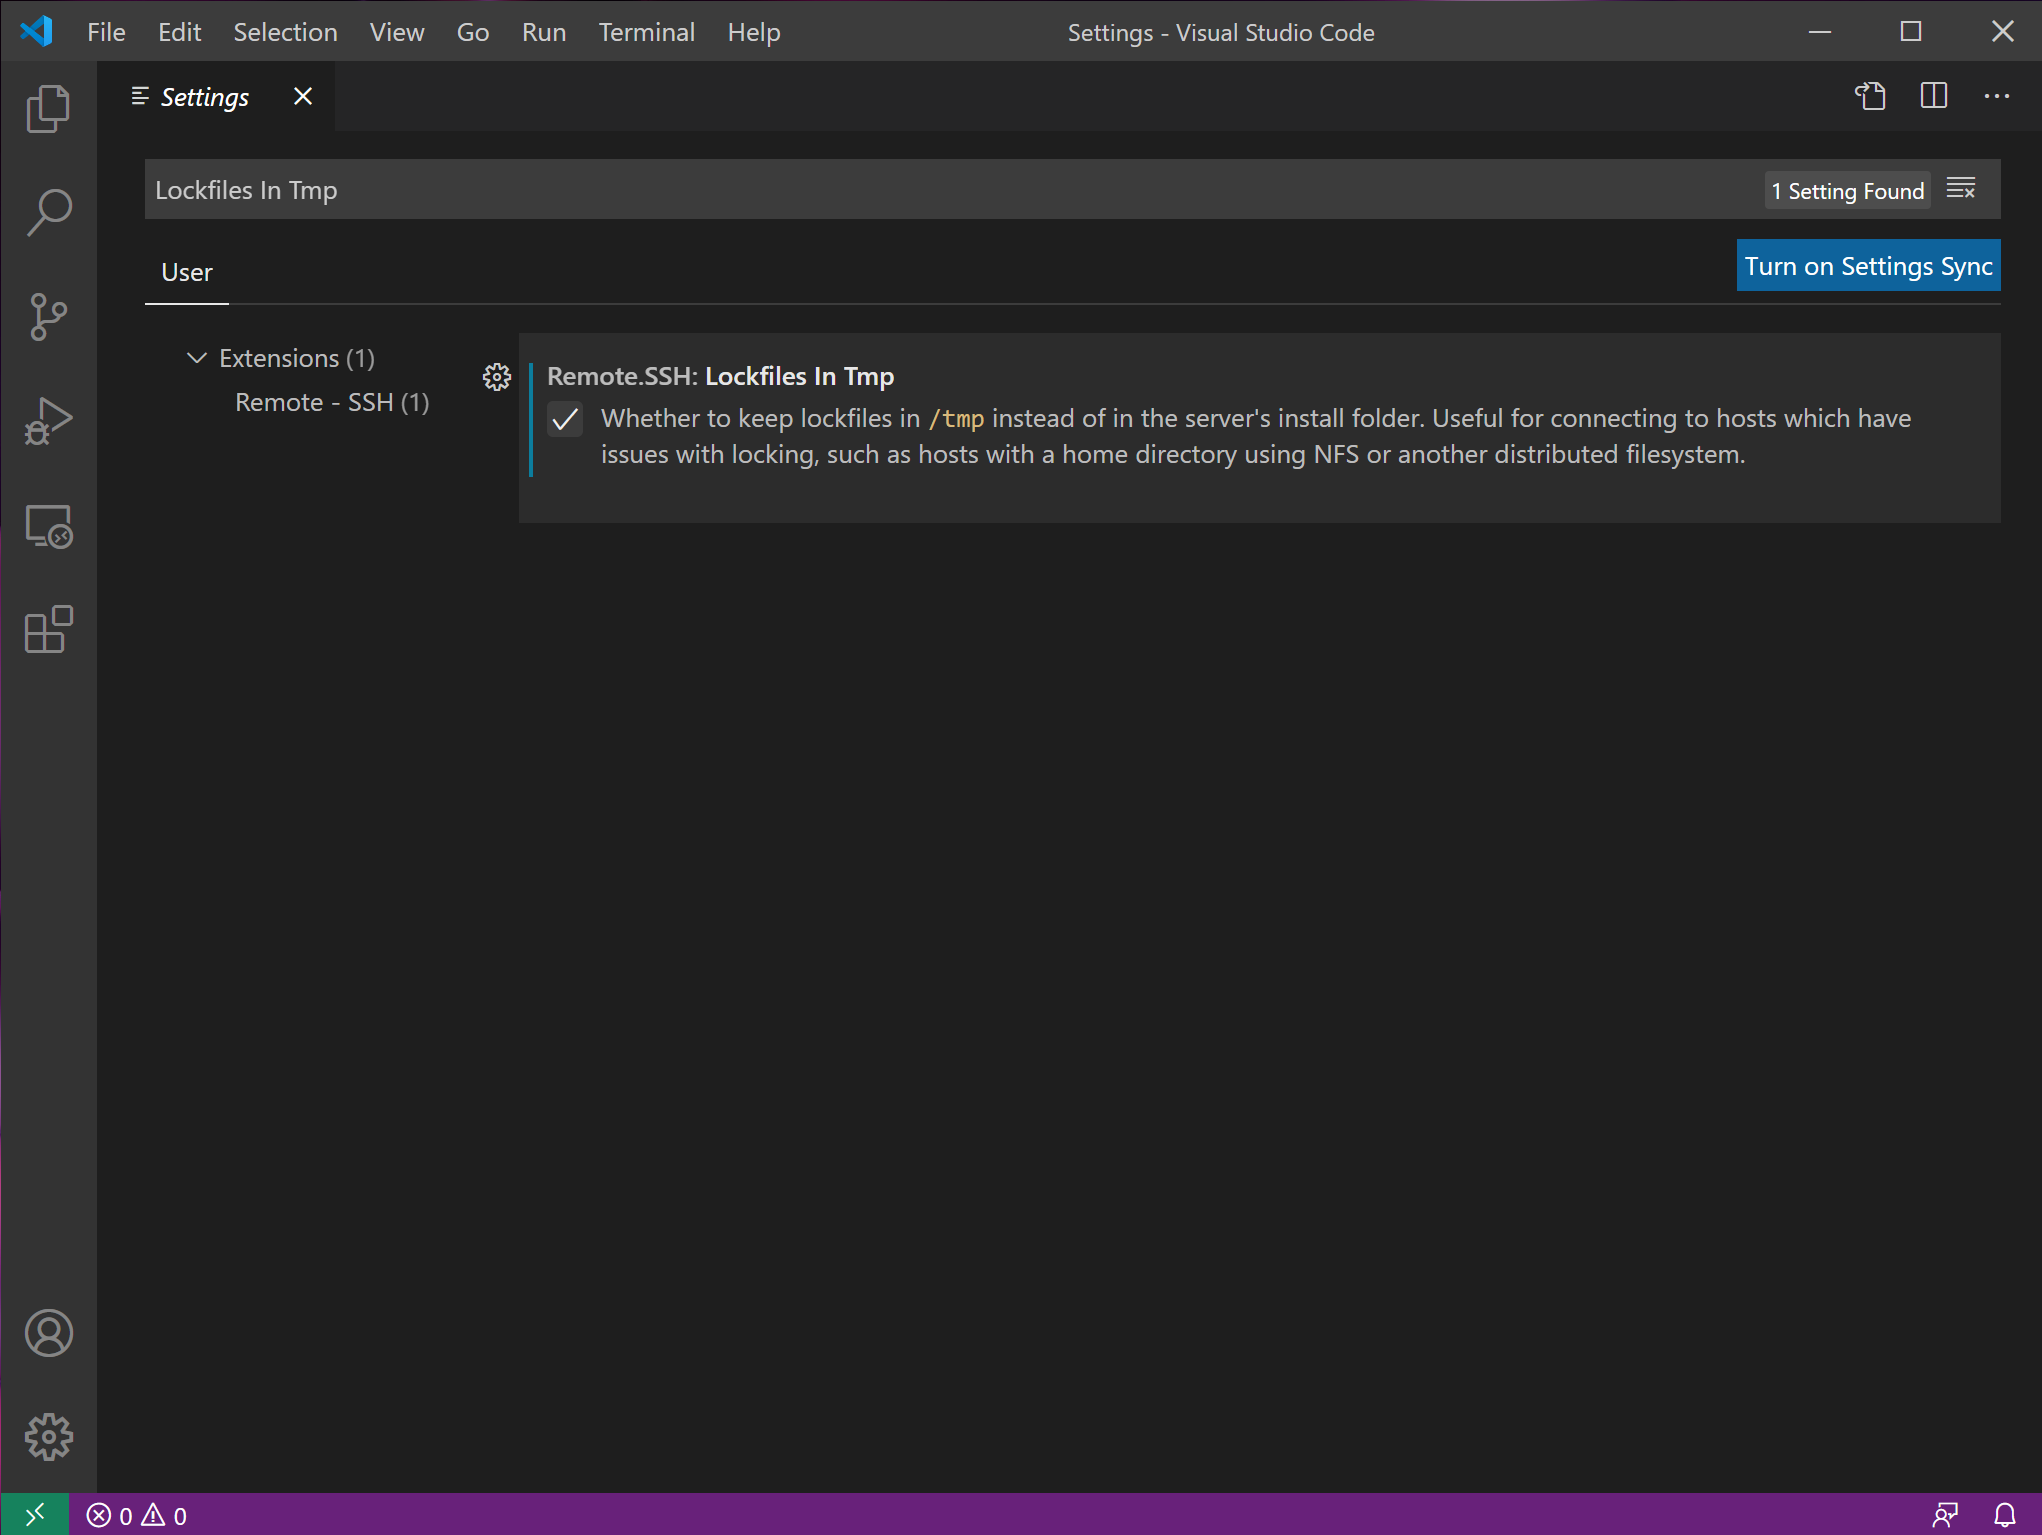
Search for “Lockfiles in Tmp”. Make sure that the setting is checked!
Close and re-open VS Code.
Step 4: Log in
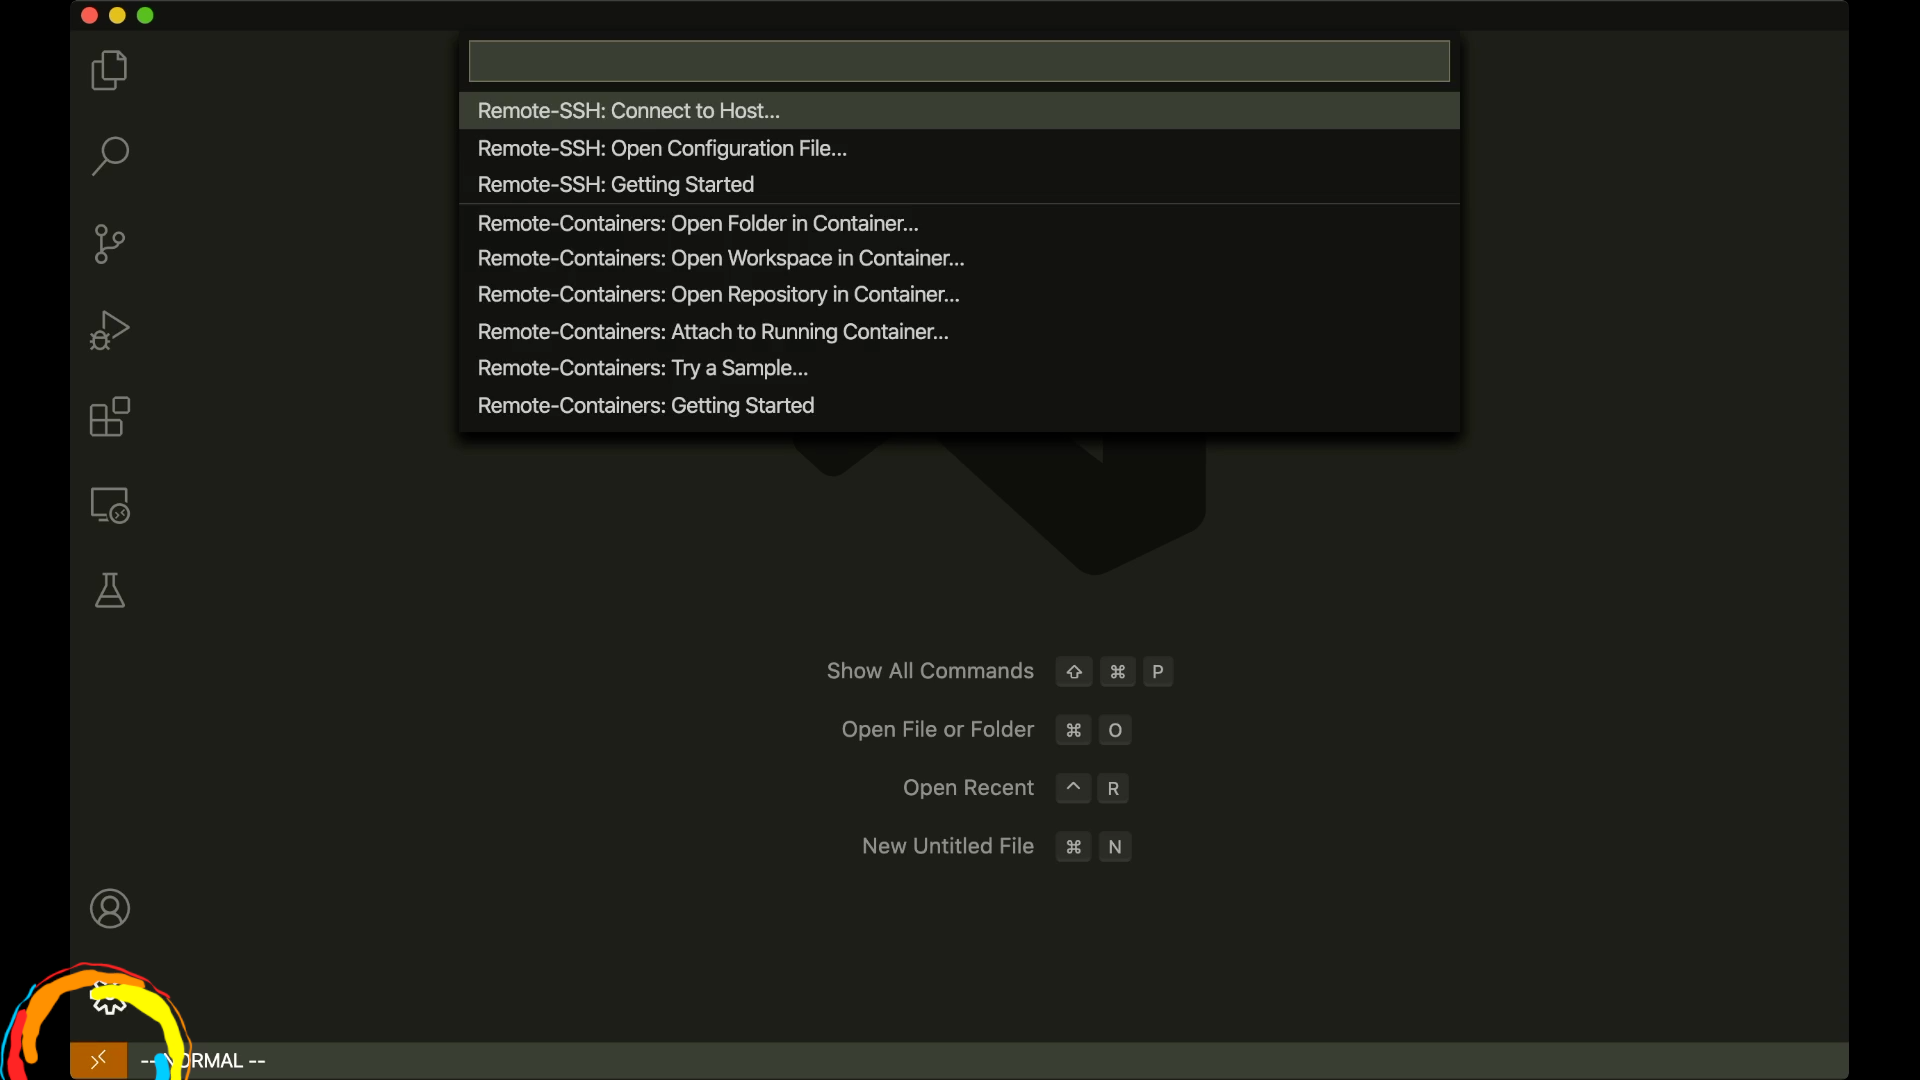
Click on the Remote Development icon at the bottom left hand side of the screen
Select “Remote-SSH: Connect to host” from the drop down menu
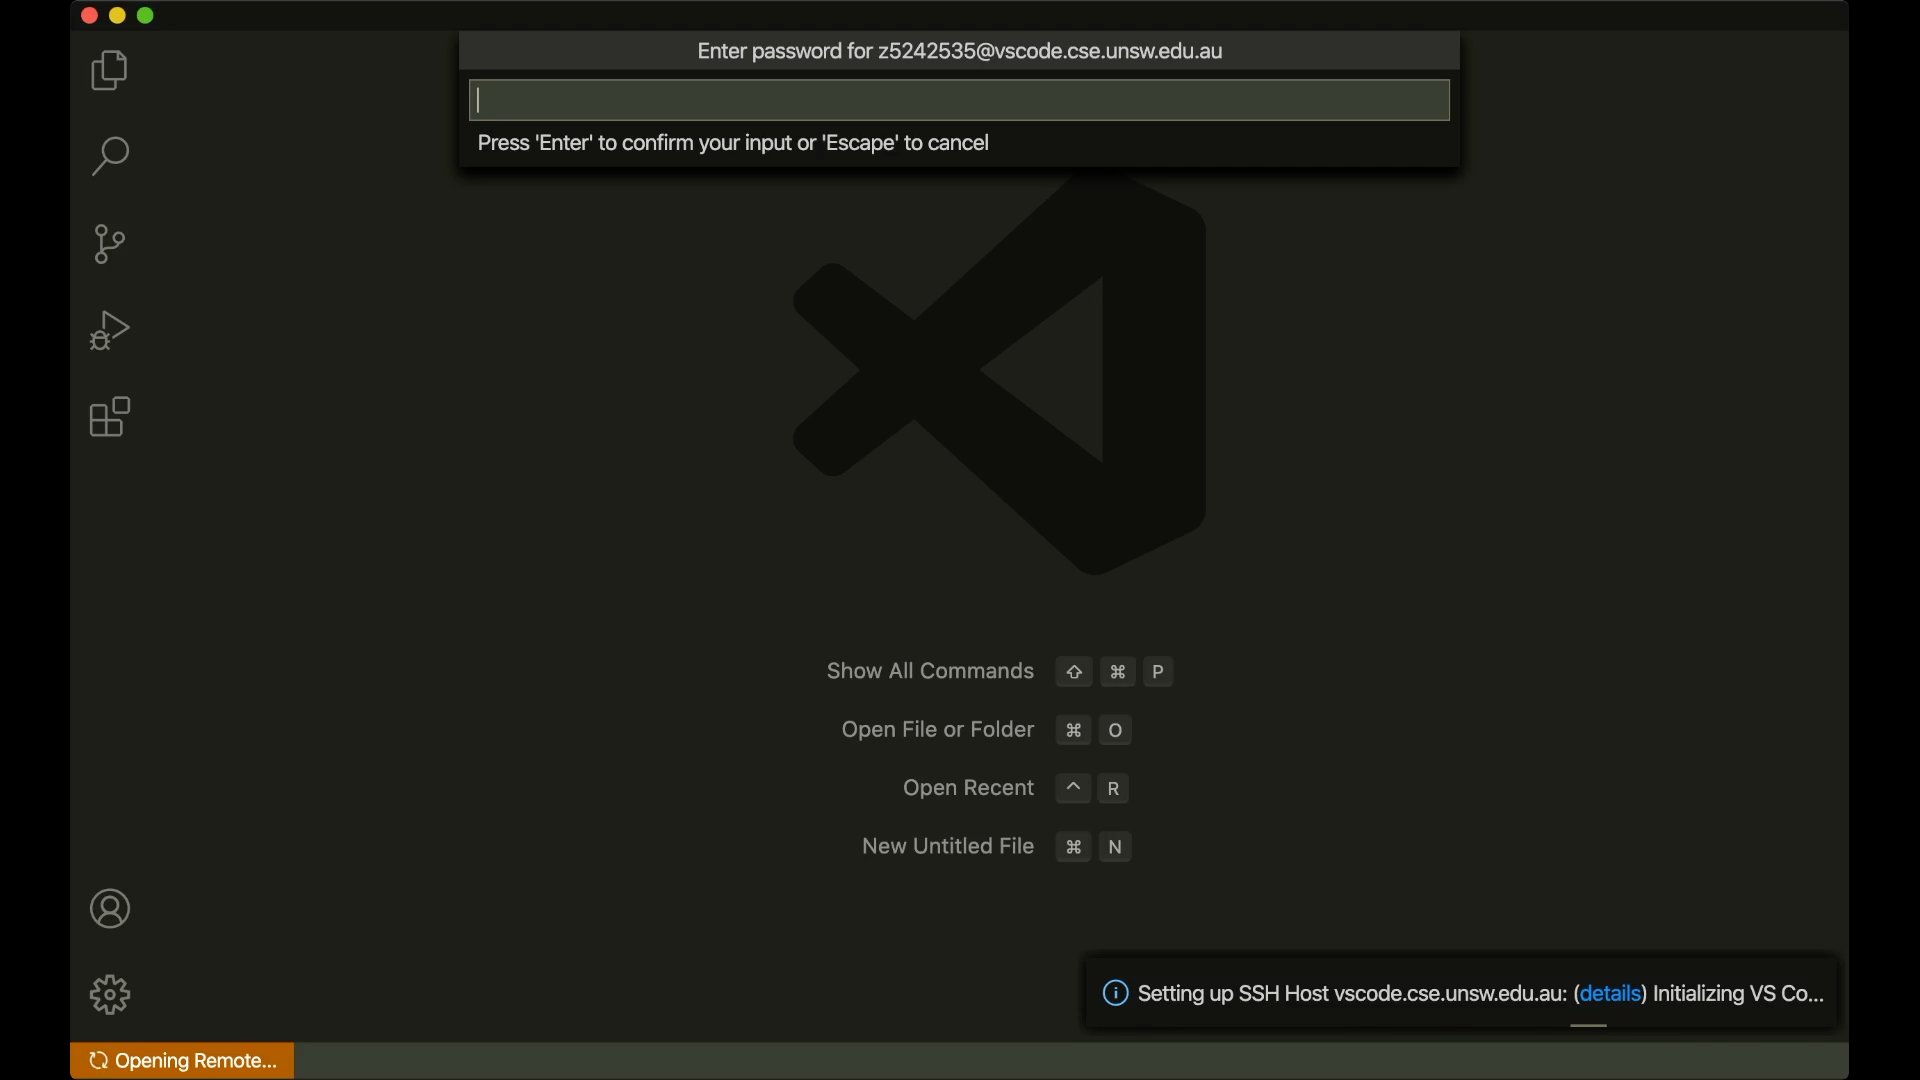
Log in with
z5555555@vscode.cse.unsw.edu.au(replace with your zID)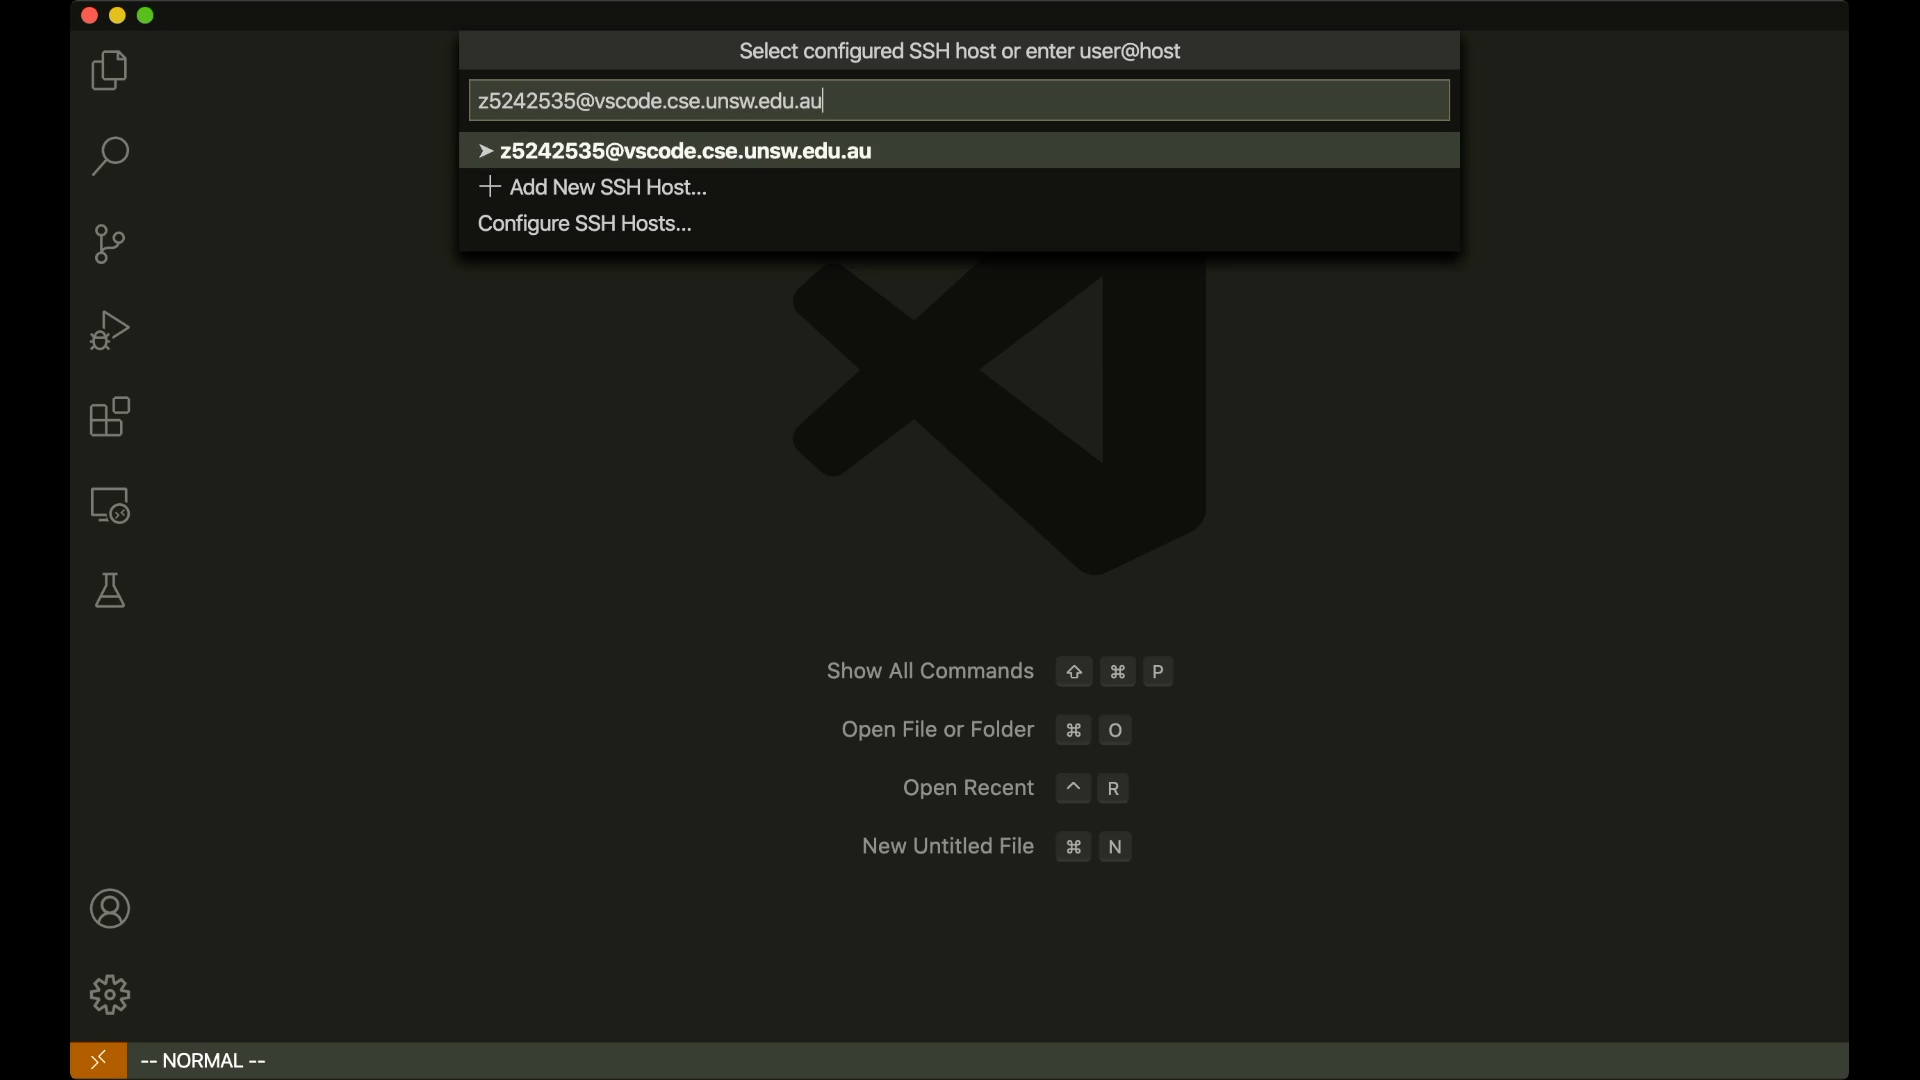
Enter your zPassword (the password you use to log into UNSW services)
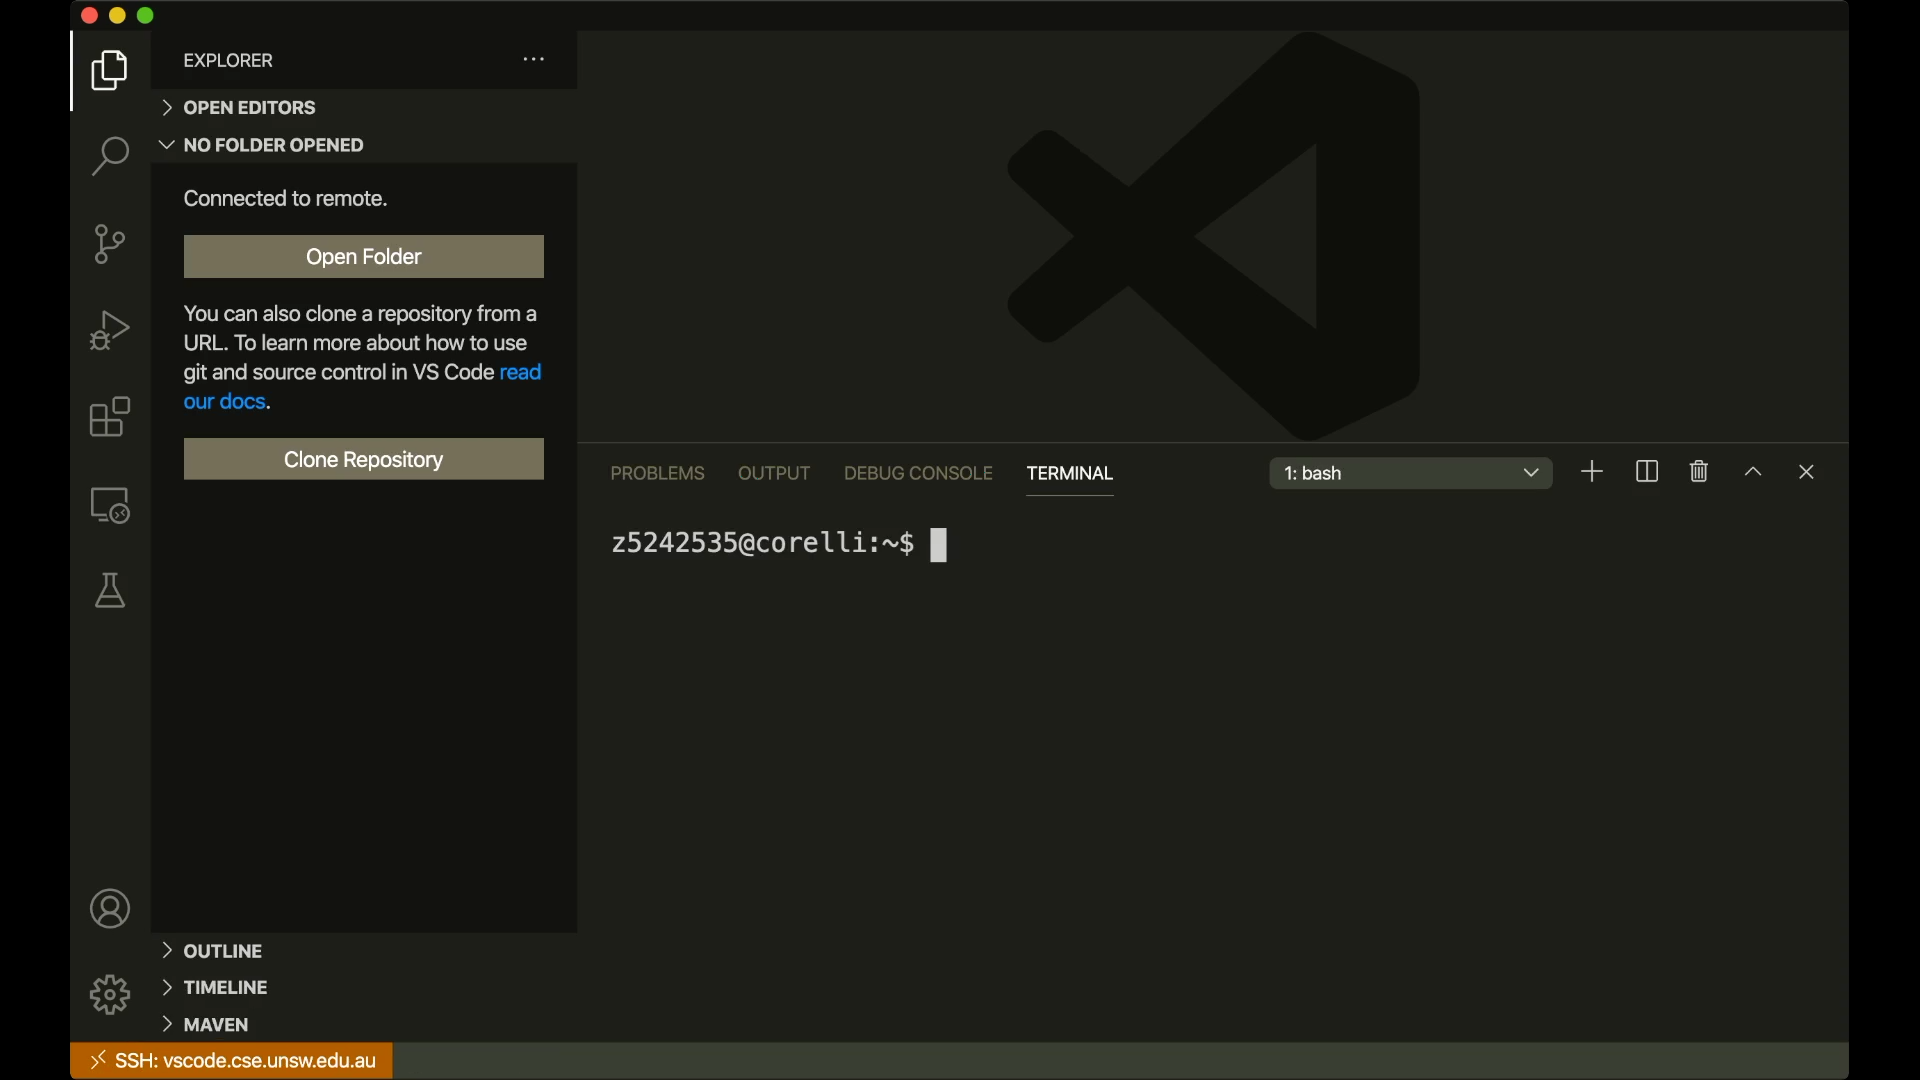
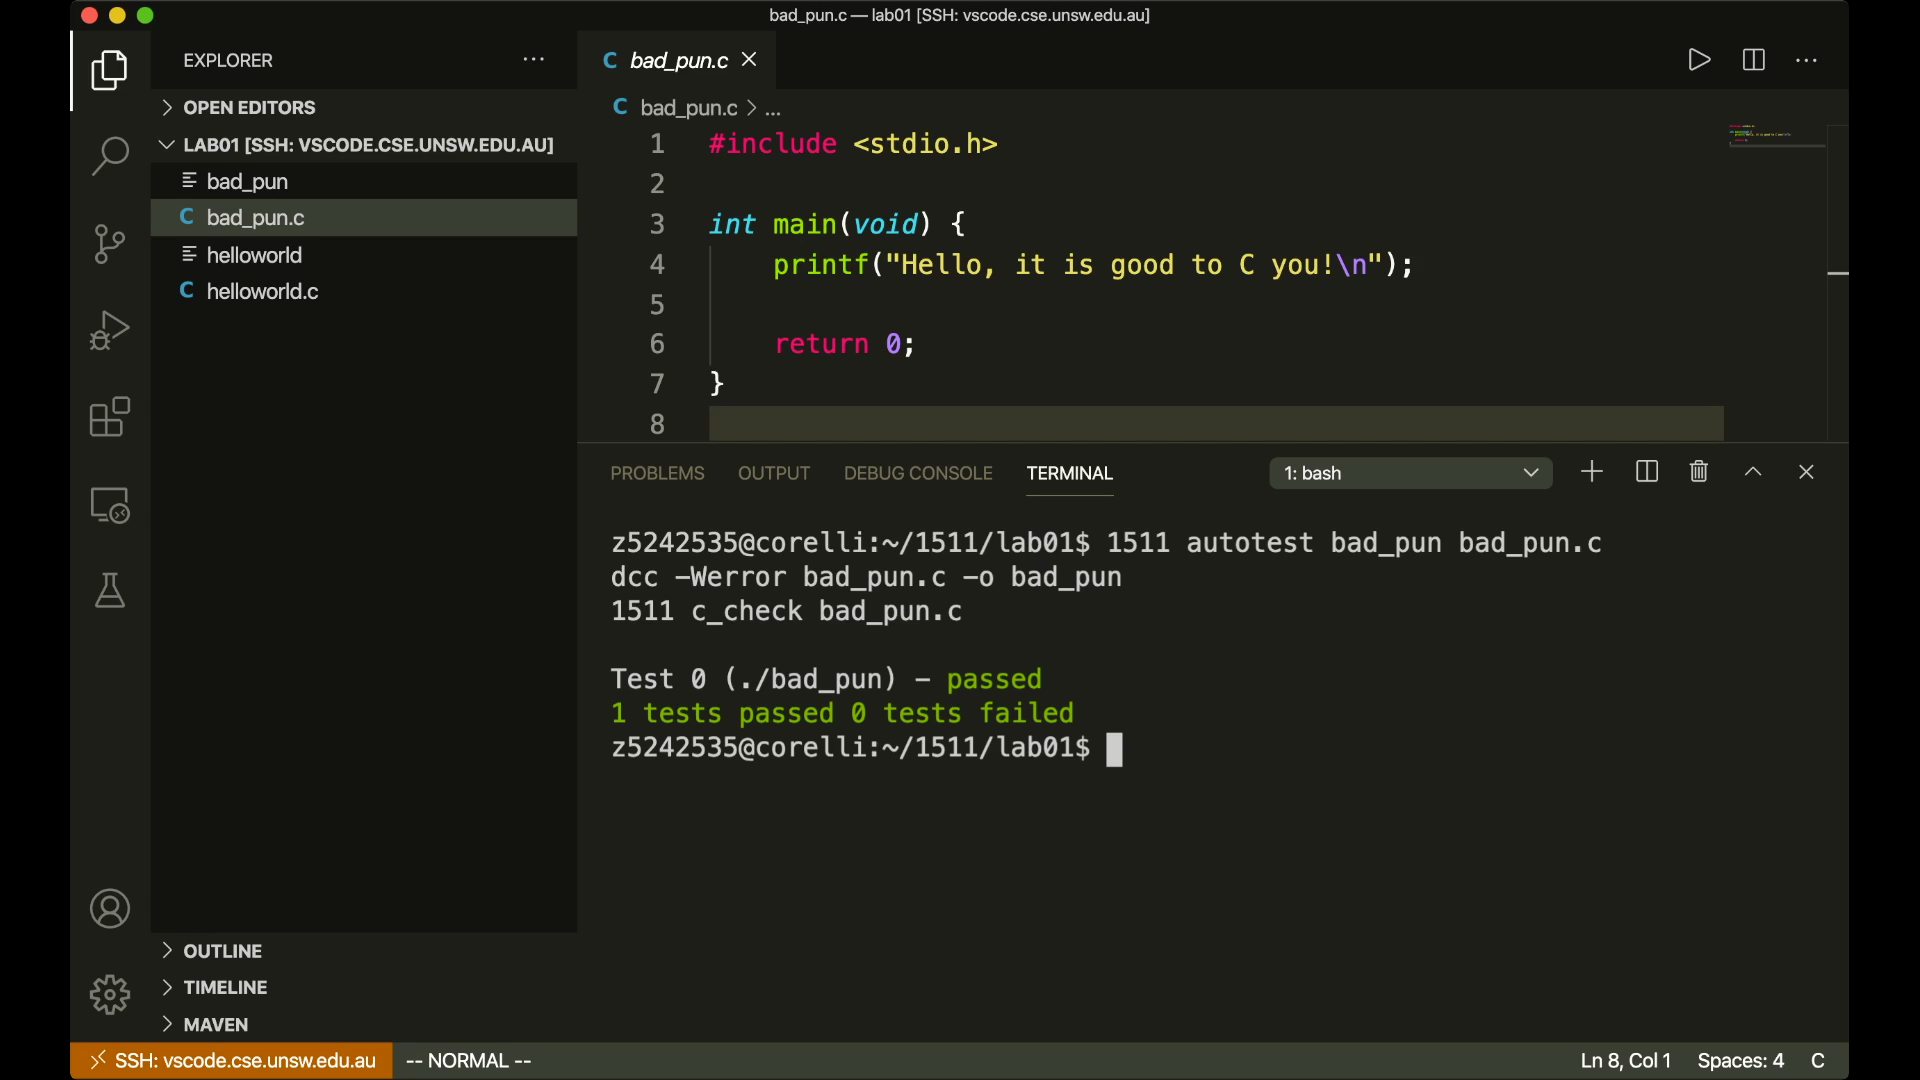
Success!
You have successfully connected to CSE! Click on the “Open Folder” button to navigate to your files. You can edit the files this way too.
Other Unofficial Guides
Other guides for setting up VS Code, written by students and tutors in CSE will be posted here shortly.
This site was created by a CSE student explaining the process to setup VSCode <https://www.abiram.me/cse-setup/>